Thursday, July 7, 2011

Thai Chicken Tacos


I've come out of my cooking dormancy in a big way. I'll have made more than four new things this week alone! However, of all of them, this recipe clearly took first prize. It came from Better Home and Garden, June 2011.

The recipe said to marinate the chicken for only an hour, but as anybody who knows anything about marinating knows, that is not long enough. I put it in the marinade for about six hours.


For the slaw, I managed to get to Publix just as they were clearing out the wilted produce, so I went with a pre-chopped slaw mix for the lettuce and carrots and then picked up the green onions, cilantro and radishes separately. I left out the peanuts.


This dish was incredible! Richard says it is his new favorite. The flavor of the chicken completely awed me. I have never done any cooking with sriracha or fish sauce before now, but they definitely won a spot on the staple list. The slaw played very nicely with the chicken. The one minor thing I might consider changing is the tortilla. The corn flavor was almost too much. I might like to see how flour tortillas work.

My biggest dilemma was what to serve on the side. I don't know how one would classify this dish...Thai-Mex? Cali-Thai? Not sure. I ended up breading and frying some zucchini-very tasty.

Butternut Squash Gnocchi

I've been making ricotta gnocchi for several months now with great success, but I had not been brave enough to try my hand at potato gnocchi since Em's and my utter failure at it circa June 2009.

However, a friend had given me a butternut squash and although I love my curried butternut squash soup, I wanted to try something new with this delicious gourd. Enter butternut squash gnocchi.

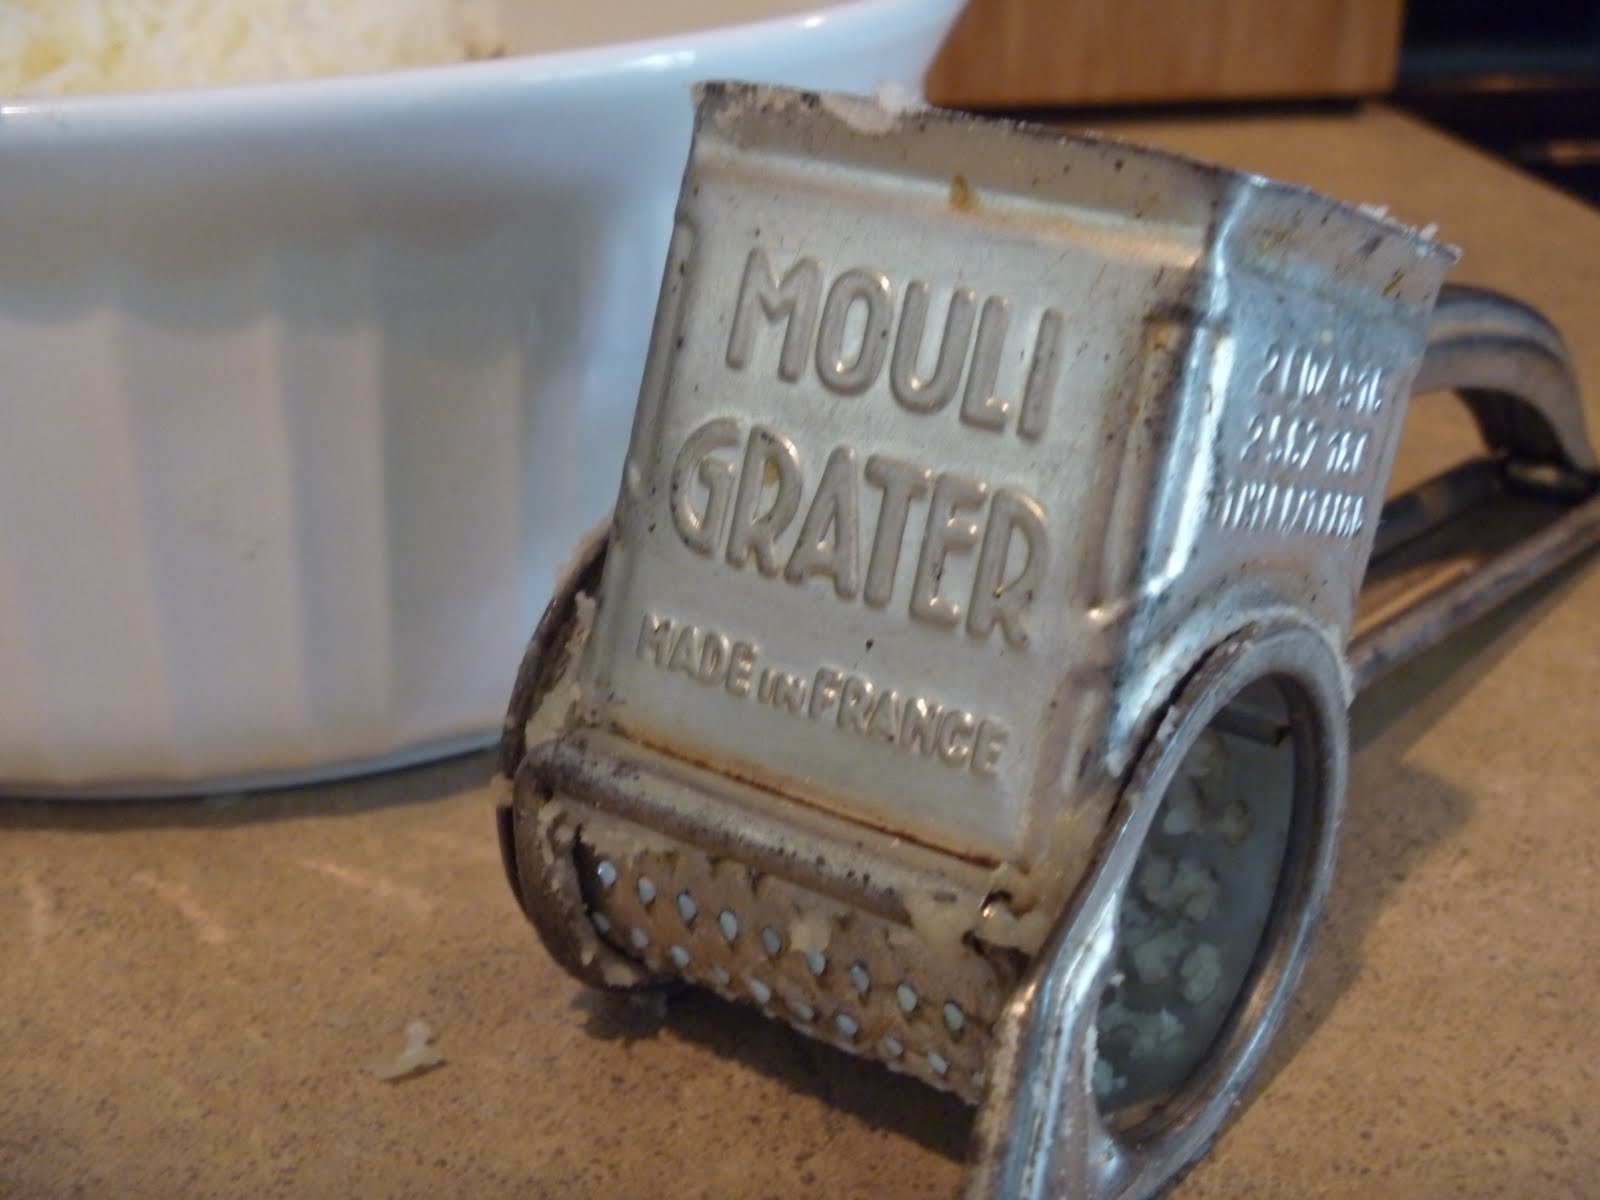
To begin with I did not want to buy a ricer for the potatoes and presuming that people made potato gnocchi before Williams Sonoma existed, I decided to try it with my 100-year-old, French rotary grater. The results were great! As you can tell, I was very proud of this.


The squash roasted in well under an hour, after which it was pureed and reduced. I then gently mixed, kneaded, rolled and cut the squash-potato dough.


I refrigerated it for a couple hours and then made my big mistake. :( I usually read recipe reviews religiously, but for some reason skipped them for this one. The recipe said to cook the gnocchi for 15-17 minutes, which I thought seemed excessive. It was excessive. They came out well over-done. The sage and brown butter sauce might have been good if the canvass had been better. I served it with sauteed baby eggplant.


This was, however, not a total failure. I learned a lot. First of all, in my ricing reading, I noticed many people recommend ricing potatoes for mashed potatoes. After seeing the light and fluffy results of ricing, I definitely will try this next time I make mashed potatoes. Secondly, I reinforced my emphasis on reading reviews. All the reviews said 15 minutes was too long. Lastly, I could see myself trying potato gnocchi again but probably not this variety. I couldn't really taste the squash at all

Fruit Leather

Matt is a huge fan of fruit leather, so I was pretty excited when I found a recipe for making it at home. This is a great use for fruit you can get in bulk - I used apples here. Spending money on berries, kiwi, etc. so that you can intentionally dry out all that great juice doesn't seem cost effective.


The formula is very easy. Peel/core/chop your fruit of choice, and add it to a large pan with half a cup of water for every 4 cups of fruit.


Simmer the fruit and water, covered, for about 15 minutes, or until it's cooked and softened. Mash the fruit up a bit, and taste it. I added just a little bit of sugar (the apples were pretty sweet on their own), a couple shakes of good cinnamon and little bit of lemon juice to make the flavors pop. I did another 15 minutes of cooking as well, just because I'd chopped the fruit unevenly and wanted to make sure it was cooked through.


When you're happy with the seasoning, toss the mush in the blender. Or the food processor. Or a food mill. You basically want to puree the heck out of it, until it's very, very smooth.


Spread some microwave-safe plastic wrap (the more sturdy variety) on a baking sheet, and spread the fruit puree over it evenly.


The directions say 140 degrees for 8-12 hours. The lowest my oven would go is 170, so we set the timer for 9 hours and went to bed.


This is what we found in the morning. The puree had shrunk a little with the drying, and was smooth on top.


After just a couple minutes of cooling, it peeled easily from the plastic wrap.


Matt's first comment was "Did you try this? This is awesome!"

I don't get the whole fruit leather thing, but I don't need to. :)

Tuesday, January 11, 2011

Chicken Pot Pie


Despite Florida's reputation for heat, our winters here in North Florida fluctuate wildly, and we have some genuinely cold days. Pot pie is perfect for those days, but I've out-grown frozen pot pies. Em recommended this recipe, and since she generally has good taste, I tried it out.

I used a rotisserie chicken to save myself some trouble, and I also used the crust recipe that the blog link has listed. I did boil the carrots and potatoes in the same pot. Other than that I followed the recipe.

To me, the most important thing about a pot pie is the crust. No argument. This crust was fabulous and I loved that I got to use my food processor for it.

Em had told me how much she enjoyed the bechamel, although it took more time to make. I cannot claim to be such a big fan of this bechamel. I found it too thick and I didn't feel that the extra time added anything to the flavor. It also seemed to be too little quantity for the pie, and most of it absorbed during baking. Next time I plan to use my stand-by bechamel recipe instead.

The one thing that I really didn't like in this recipe was the potatoes. When reading the recipe, I realized I'd never had a pot pie with potatoes in it. There's a first time for everything, but I will not use them next time. I think they may have been the bechamel-absorbing culprits.

As far as first pot pies go, this was a good start.

Saturday, December 18, 2010

Christmas Tins 2010

The first Christmas after we were married, I determined to make Christmas baskets full of goodies every year.  Is it really a loser thing to admit that I look forward to this every year?  Well, I do.

I have made mostly the same things each Christmas, but I wanted to try some new things this year.  In the past I made chocolate raspberry fudge (which I still plan to make), popcorn balls, macaroons, and chocolate Oreo cookie bark.  

I always bought baskets for them up until last year.  I couldn't find any baskets I liked at a decent price so I got goodie boxes instead.  This year, I found some tins.  

Unfortunately, the tins didn't hold as much as I thought they would, so I was relegated to only two items per tin.  (Wow, will I ever get to the food part of this post?)

I made Holiday Biscotti and Chocolate-Dipped Marshmallows topped with Peppermint.

I'm not sure why, but I've always been intimidated by biscotti.  I'd never looked at a recipe for it, but I was convinced it must be difficult.  It isn't at all difficult.

The recipe is extremely straightforward.  I did think it needed more pistachios and cranberries.  I also was a bit shocked by the absence of anise, and to be quite honest it needed anise.  Biscotti is not biscotti without anise.  I followed the recipe this time, but next time it's getting anise.  

It does make a beautiful presentation though with the green pistachios and the red cranberries offset by the white chocolate.  Very impressive.

The chocolate-dipped marshmallows were inspired by something similar I saw at Fresh Market.  Very straightforward idea.  Heat chocolate, dip marshmallows in chocolate, sprinkle with crushed peppermint candy and let cool.  Also a very nice presentation, and very tasty.

I don't have any photos yet of the tins or their contents, but I have one left to do and will take and post pictures.

Christmas Party Fare

Every year, I try to put on a Christmas party--not so much for other people as for myself.  I'm only half-kidding about that.  While I most certainly do enjoy having friends over for the holidays, I really do love putting out a table full of delicious eats.

Because I cannot boast a formal dining room, I decided long ago that rather than having only two or three people over at a time for a dinner I would invite more people for drinks and hors d'oeuvres.

The menu this year was as follows:
Heavyset Cheeseball
Cocktail Shrimp
Olives
Sausage Balls (see my earlier post)
Spinach and Goat Cheese Tartlets
Bruschetta (my own make-shift recipe)
Christmas Stollen (purchased)
and a bowlful of Hershey's Kisses

I also served red wine (Espiritu de Chile 2006 Carmenere), and a Chardonnay (2006 Meridian), and the usual array of soft drinks.

I typically try to do this sort of menu with a mixture of homemade and purchased items to make things a little easier on myself.  This was especially necessary this year since I decided to give my Christmas tins as party favors this year. (See next post).

The heavyset cheeseball proved a crowd favorite.  Everyone was initially awed by the presentation, and then loved the flavor.  The recipe seemed a little light on flavor so I added a good bit more dill and a smidgeon of garlic powder.  It was just right.  For the green garnish, I simply used the extra dill.

I've posted before on the sausage balls, and they were yet again a big hit.

My personal favorite was the tartlets.  In this, I may be biased by my steadfast opinion that there is nothing that cannot be improved by goat cheese.  I also made these for a party earlier this year.  They really are incredibly easy to make.  I do recommend using the pre-made phyllo cups.  They are a huge time-saver.  I also use only one teaspoon of lemon zest instead of two.  The first time I made these, I followed the recipe and they were too lemony.

For the bruschetta, I forgot the basil.  In my defense, I had been running around like a mad woman getting ingredients and doing Christmas shopping.  I realized as I began chopping the tomatoes that I had forgotten the basil, and made a decision to go without it.  I did tomatoes, shallots and garlic with salt and pepper, olive oil and balsamic vinegar.  Turned out great.  I do highly recommend getting the bakery to slice a baguette for the bruschetta.  I've noticed many places selling pre-made and packaged bruschetta chips/slices, but nothing beats freshly toasted bread.

Everyone gets bombarded with sweets this time of year, so I chose to keep the dessert simple.  Christmas stollen and Hershey's Kisses fit the bill and looked great on the table.


Now to the more artsy side of my Christmas party.  I couldn't find votive holders I liked at a price I could swallow, so I improvised.  I have a collection of ribbon remnants from previous Christmases, so I had an epiphany.  I bought two plain votive holders at $1 each, wrapped a piece of holly and ivy ribbon around them and voila!  Festive candles!

Originally, I had planned to use paper plates and cups for the party, but I decided against it.  I get to drag out my Noritake so rarely, and this would be so few dishes that I had to go for it.  I'm happy I did.  It really added to the ambience.  I also decided against plastic cups.  I did have to buy some goblets but I got them for practically nothing at Ross and I can always use them.  I also bought a pair of foil red serving plates to add a little extra color to the table.

Overall, it was a very nice evening.  Great company and great food.

Saturday, December 11, 2010

My First Turkey

This year I cooked my first Thanksgiving turkey.  As any woman knows, this is a rite of passage.  This turkey is unforgettable regardless of how it tastes.  Fortunately, my turkey turned out beautifully, and I won't have to recount any horror stories during future holidays.

Brining has always attracted me.  I chose Emeril's Brined, Herb-Roasted Turkey recipe.

For the turkey itself, I chose a Publix brand, fresh (never frozen), 13-pound turkey.  A huge benefit of a fresh turkey, other than taste, is there is no panic about defrosting the bird.

I purchased a five-gallon bucket from Lowe's for the brining.  I did have to take out my fruit and veggie drawers, but it fit perfectly after that.

The brining process really couldn't have been simpler.  Throw everything in the bucket, cover and let sit for up to 24 hours.  My turkey brined for approximately 14 hours.


I got up early Thanksgiving morning to stuff the turkey and put it in the oven.  I had always been told that a good roasting pan made all the difference.  After conducting some research, I learned the best pan is a Calphalon.  The downside to this pan is that it is over $100.  So I looked for a pan that most closely resembled the Calphalon's v-shaped rack and non-stick pan.  TJ Maxx had a Barenthal for $30.  

To monitor the temperature, I used a leave-in, probe thermometer with a digital reader which stays outside the oven.  (I'm sure there is a more succinct way of describing that.)  It worked extraordinarily well.


The turkey cooked for about four hours, and tasted amazing.  Incredibly moist with great flavor.  I'm not a dark meat person, but even the dark meat was delicious, not greasy or grissly.

There is really only one thing I would do differently next time.  I should have put some of the herbs and seasoning under the skin instead of just inside the cavity.  The breast meat could have used more flavor.

As an additional note, the gravy is great.  I did not chop up the gizzards or neck and add it to the gravy.  I wanted it to be smooth.